**This post contains affiliate links**
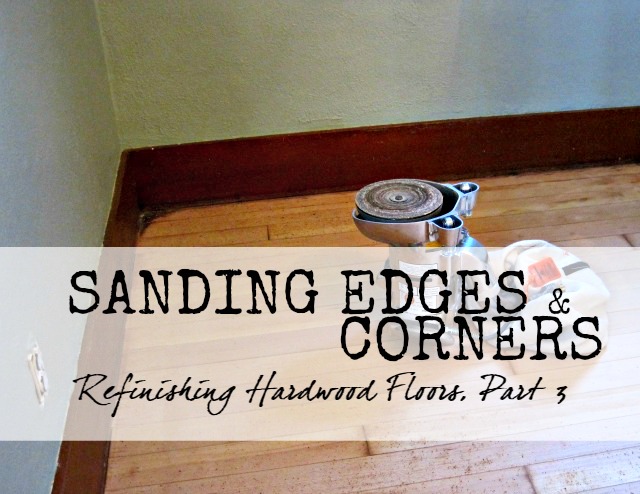
Okay, so, we'd already pulled up carpet and removed glue from our hardwood floors, and then sanded them down using a drum sander. The next step was to sand those areas that the drum sander just couldn't hit- mainly the edges and the hard-to-reach spots.

See those dark edges? The drum sander couldn't reach all the way to each wall, so it was time to get out the edger. We rented an edging sander from our local hardware store, and called in some
Honestly, I don't know that we would have gotten everything done nearly as well or as quickly as we did without the help of our cousin and a co-worker who put in some long, crouched over hours helping us out.

Hard at work. And of course, we're fair and gracious task masters, so our helpers all got to wear headphones and eye protection. Because we love them.
As you can see, our cousin is moving along the wall, getting rid of the varnish and junk on the edges. The trick to using an edger is to keep it moving. The edger digs down into the wood and puts some deep gouges in there if you don't move it constantly.
The only part of the sandpaper actually touching the floor is the front edge, so when you stop or start, it's best to ease the sander up off of the floor, so you don't end up with a divot.
To be completely honest, I hated the edger. Hated it. I wasn't very successful with it, either-- the parts of the floor that I edged are definitely not nearly as nice as the ones our volunteers did. We all have our strengths and weaknesses, I suppose. This was definitely a weakness of mine.
We sanded down the edges first with 60-grit, then with 80-grit, and finally with 110-grit sandpaper- being careful to blend our edging in with the rest of the floor.

The only downside of the edger is that you can't get into corners with it- see the dark part in the corner, there?

Same thing, here- the edger is circular, which works pretty well except in those squared off spaces.

Enter the small handheld sander (this one is similar). It's not great for sanding large areas, but it gets into those little corners really well.
We used the palm sander (first at 80-grit, then 110-grit, and finally at 220-grit) to finish up corners and difficult to reach places, like doorjams.

The next challenge was this area.
This cabinet thing hangs over the floor, and both the edger and the palm sander were too big to go underneath it. The same was true with the area under my cabinets in the kitchen- I couldn't fit my hand under there while holding the sander.
Luckily, my husband knows a lot about a lot of things- in particular, his extensive knowledge of power tools comes in handy.
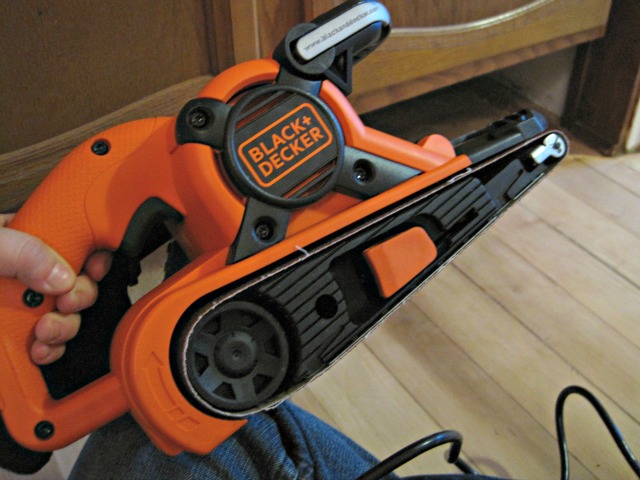
He found this Black and Decker belt sander, which was just the ticket. The nice thing about this guy is that the handle on the top is adjustable, so we could set it lower and it was small enough to fit under the cabinets, and the front wheel is smaller, which means you can get closer to the wall with it.

See? Fits!
Online, some of the reviews of this belt sander said that the sawdust bagger didn't work well, but that wasn't our experience. It really sucked in a lot of sawdust. My only issue with it was that the tracking had to be adjusted pretty often, but even that wasn't bad.
We sanded under the cabinets with 80-grit, then with 110-grit, and we totally skipped the 220-grit sandpaper because at this point, I was so over sanding and no one was going to really look under there anyway.
Of course, you could definitely be more thorough.
It ended up looking like this, despite our negligence:

Not bad.
Finally (finally) the floors were sanded down enough to move on to the next step: prepping the floor for varnish!
DISCLOSURE: In order for me to support my blogging habit, I may receive monetary compensation or other types of remuneration for my endorsement, recommendation, testimonial and/or link to any products or services from this blog. You may see a full disclosure by clicking on my "About" page. I will only promote products that I use, enjoy, or take a shine to. All opinions and reviews are my own and are not influenced by any compensation I may receive.


Such a huge project - they look great!
ReplyDeleteWow, what a big project! Will you have other uses for the tools after you do this job?
ReplyDeleteThankfully, yes. The big edger was rented, the small palm sander was borrowed, and hubby does some woodwork and DIY projects, so the little belt sander will be used a lot, I'd say. =) Thankfully, because I don't much like spending money on one-time use things!
DeleteWow... I had no idea there were that many different kinds of sanders! I'm in awe of all you're doing and can't wait to see the final pictures :)
ReplyDeleteIt's certainly been a growing experience... we're getting there!
DeleteThe floors are looking wonderful!! I can't wait to see them after they are stained and sealed!!!
ReplyDelete